Recording events on your Live Stage (Webex Webinars)
Recording your session is a great idea if you have delegates in different time zones who may not be able to attend a session live, or simply for the sake of posterity.
Step 1) Start Your Live Stage
Following the steps detailed in this article (Starting your Live Stage), start hosting your stage.
Step 2) Begin Recording
Once you’re happy to begin recording, in the toolbar along the bottom, you will see the button to record. Select “Record”. As a default recording will be saved in the cloud. Don't change this setting.

We recommend that the Stage Manager stops recording after each session and start at the beginning of the next. This will ensure each session is recorded as a separate file and will make for easier downloading and editing post-event.
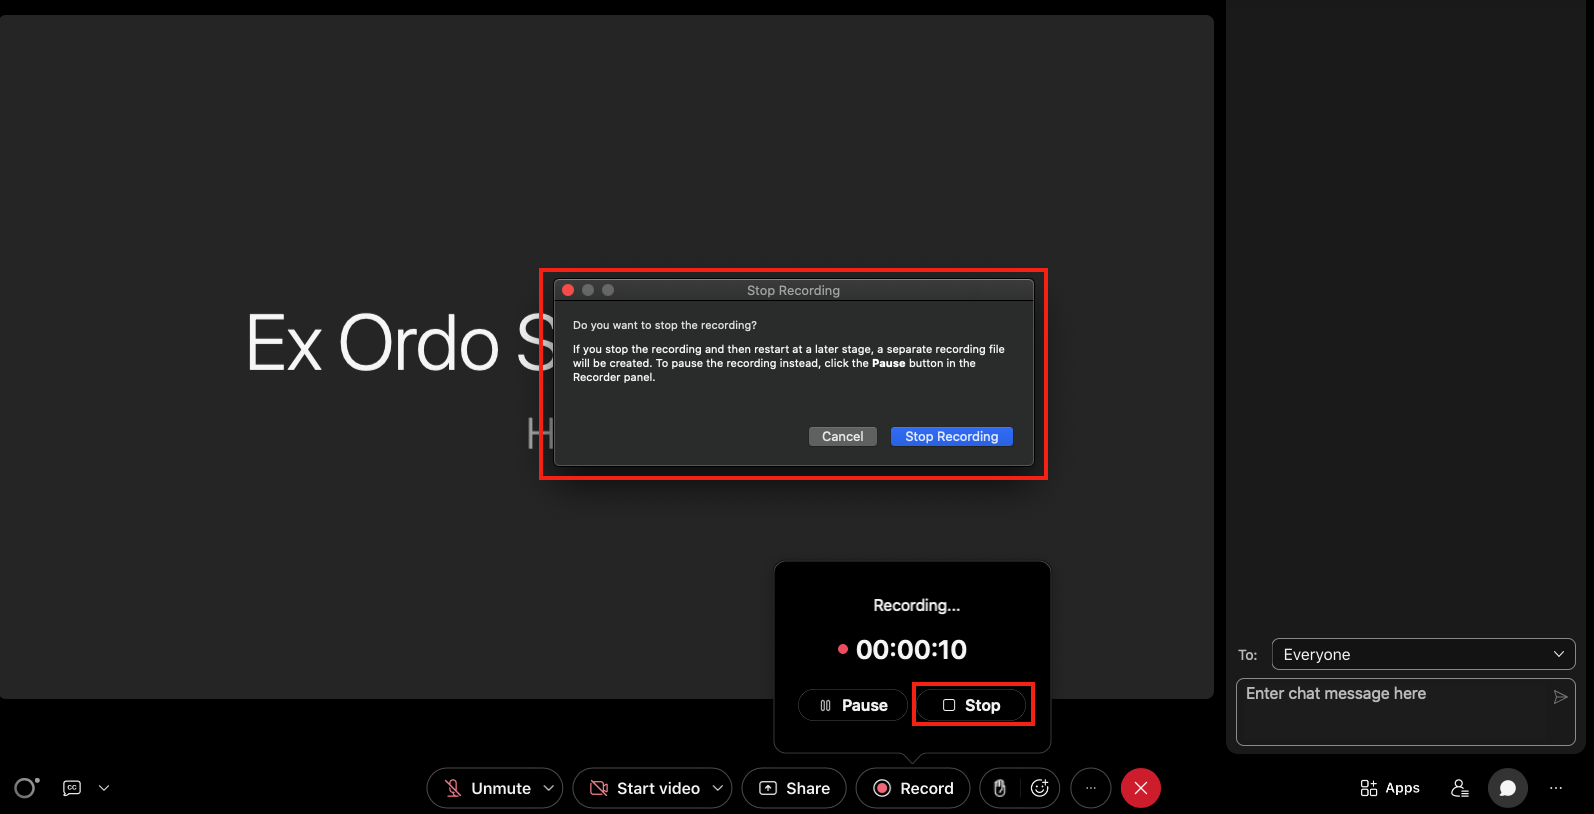
If you do not stop recording after a session, and start at the beginning of the next, the output will be one long continuous file recording of the Stage Day and you will need to edit it.
Recoding during the screen share
While sharing your screen the toolbar appears at the top of the screen. You will see Record functionality as below.

To stop recording hover over the top toolbar again.
